Page Available
index.asp

Knowing how to find the best Auction Services is a start to making a little extra cash. Auctions are primarily internet- ...
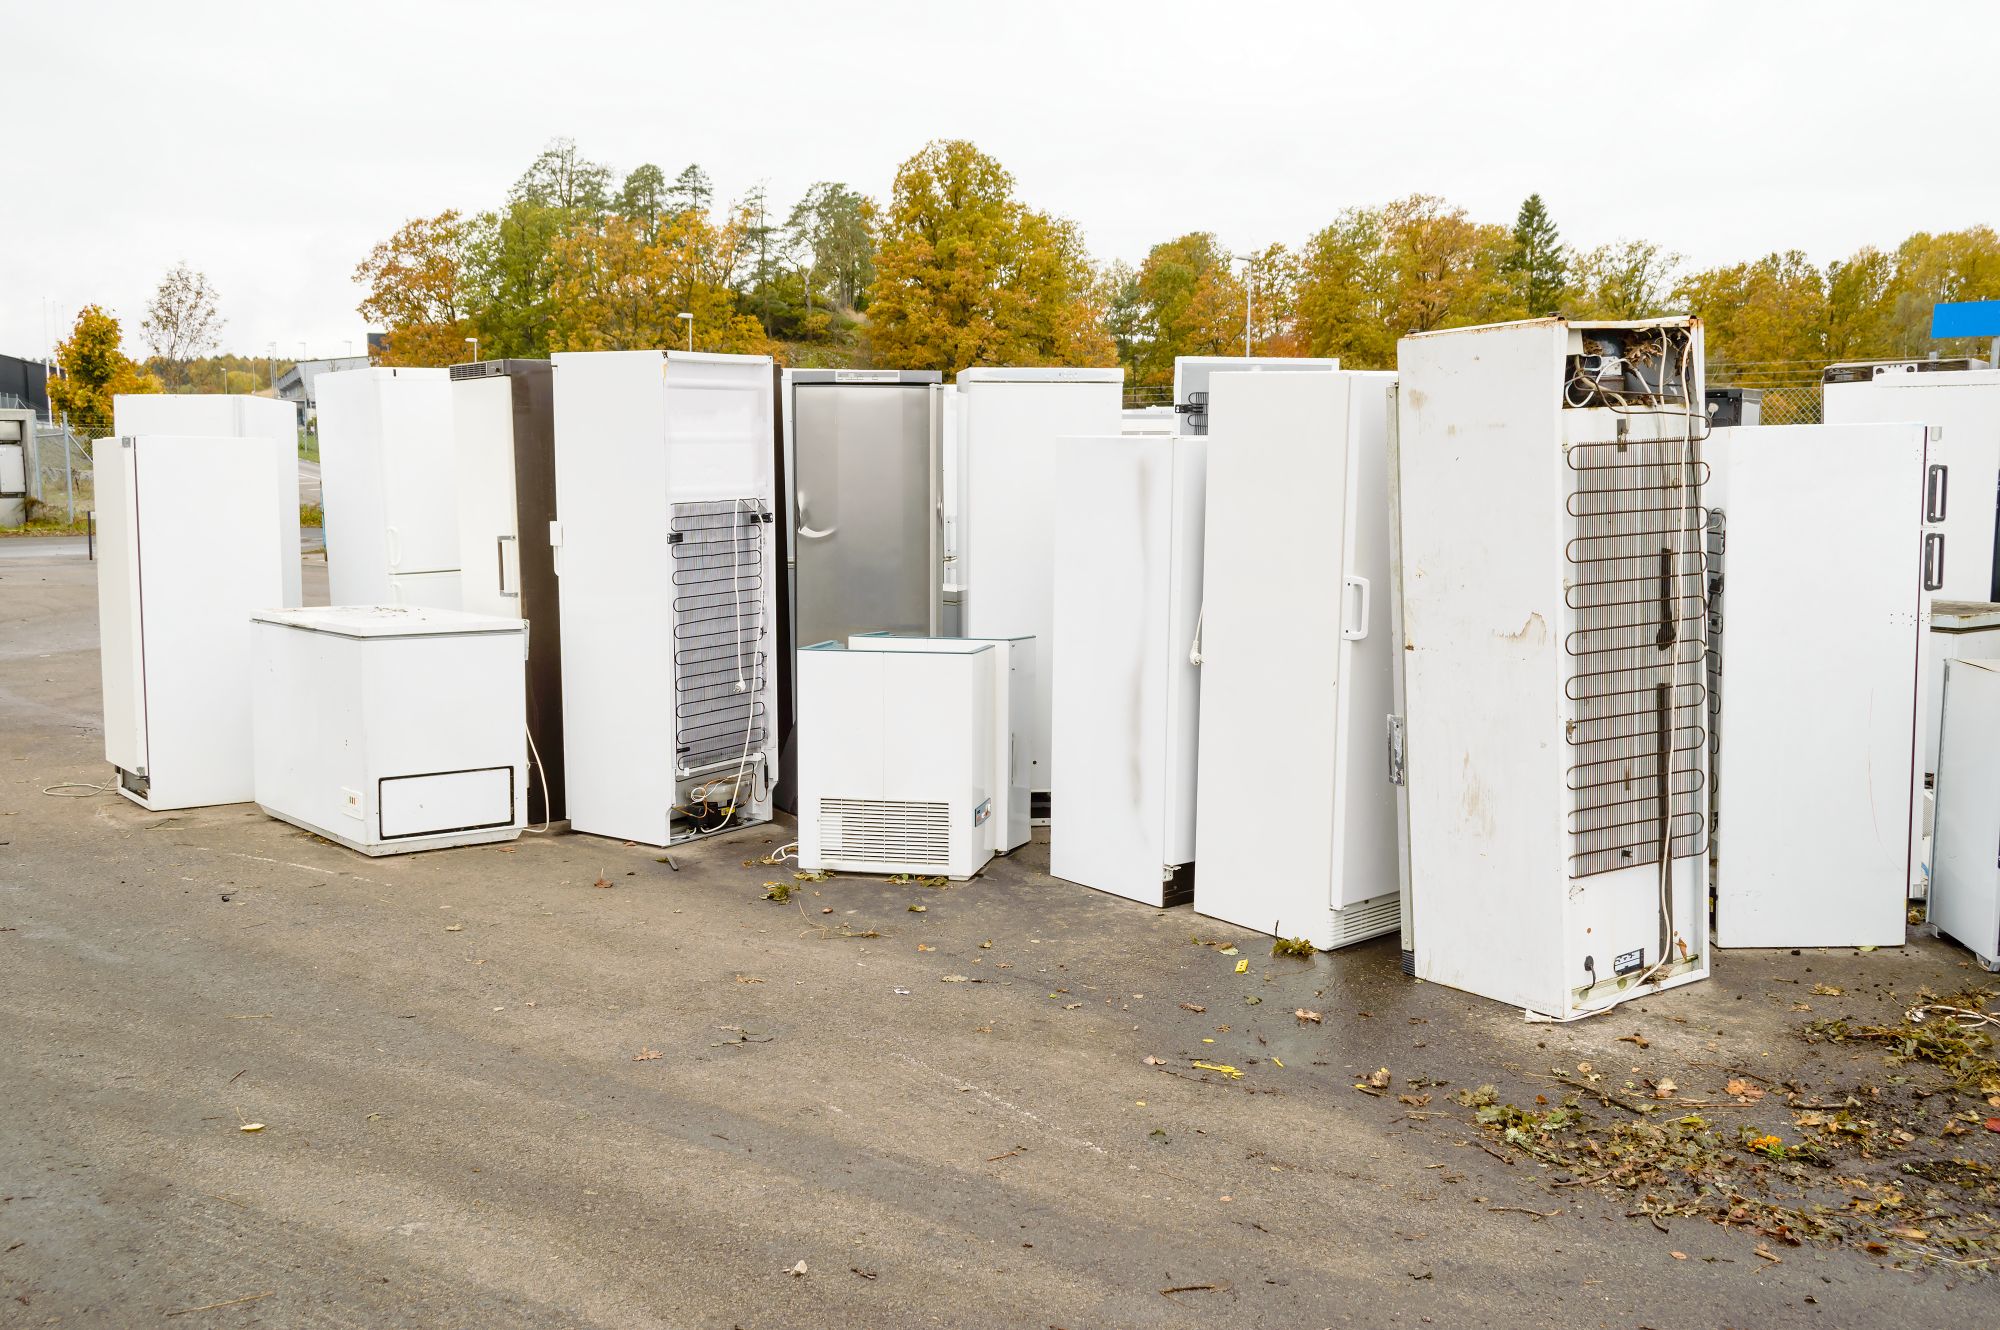
We love our appliances, don't we? Our dryers, washers, refrigerators, trash compactors, dishwashers, sinks, st ...
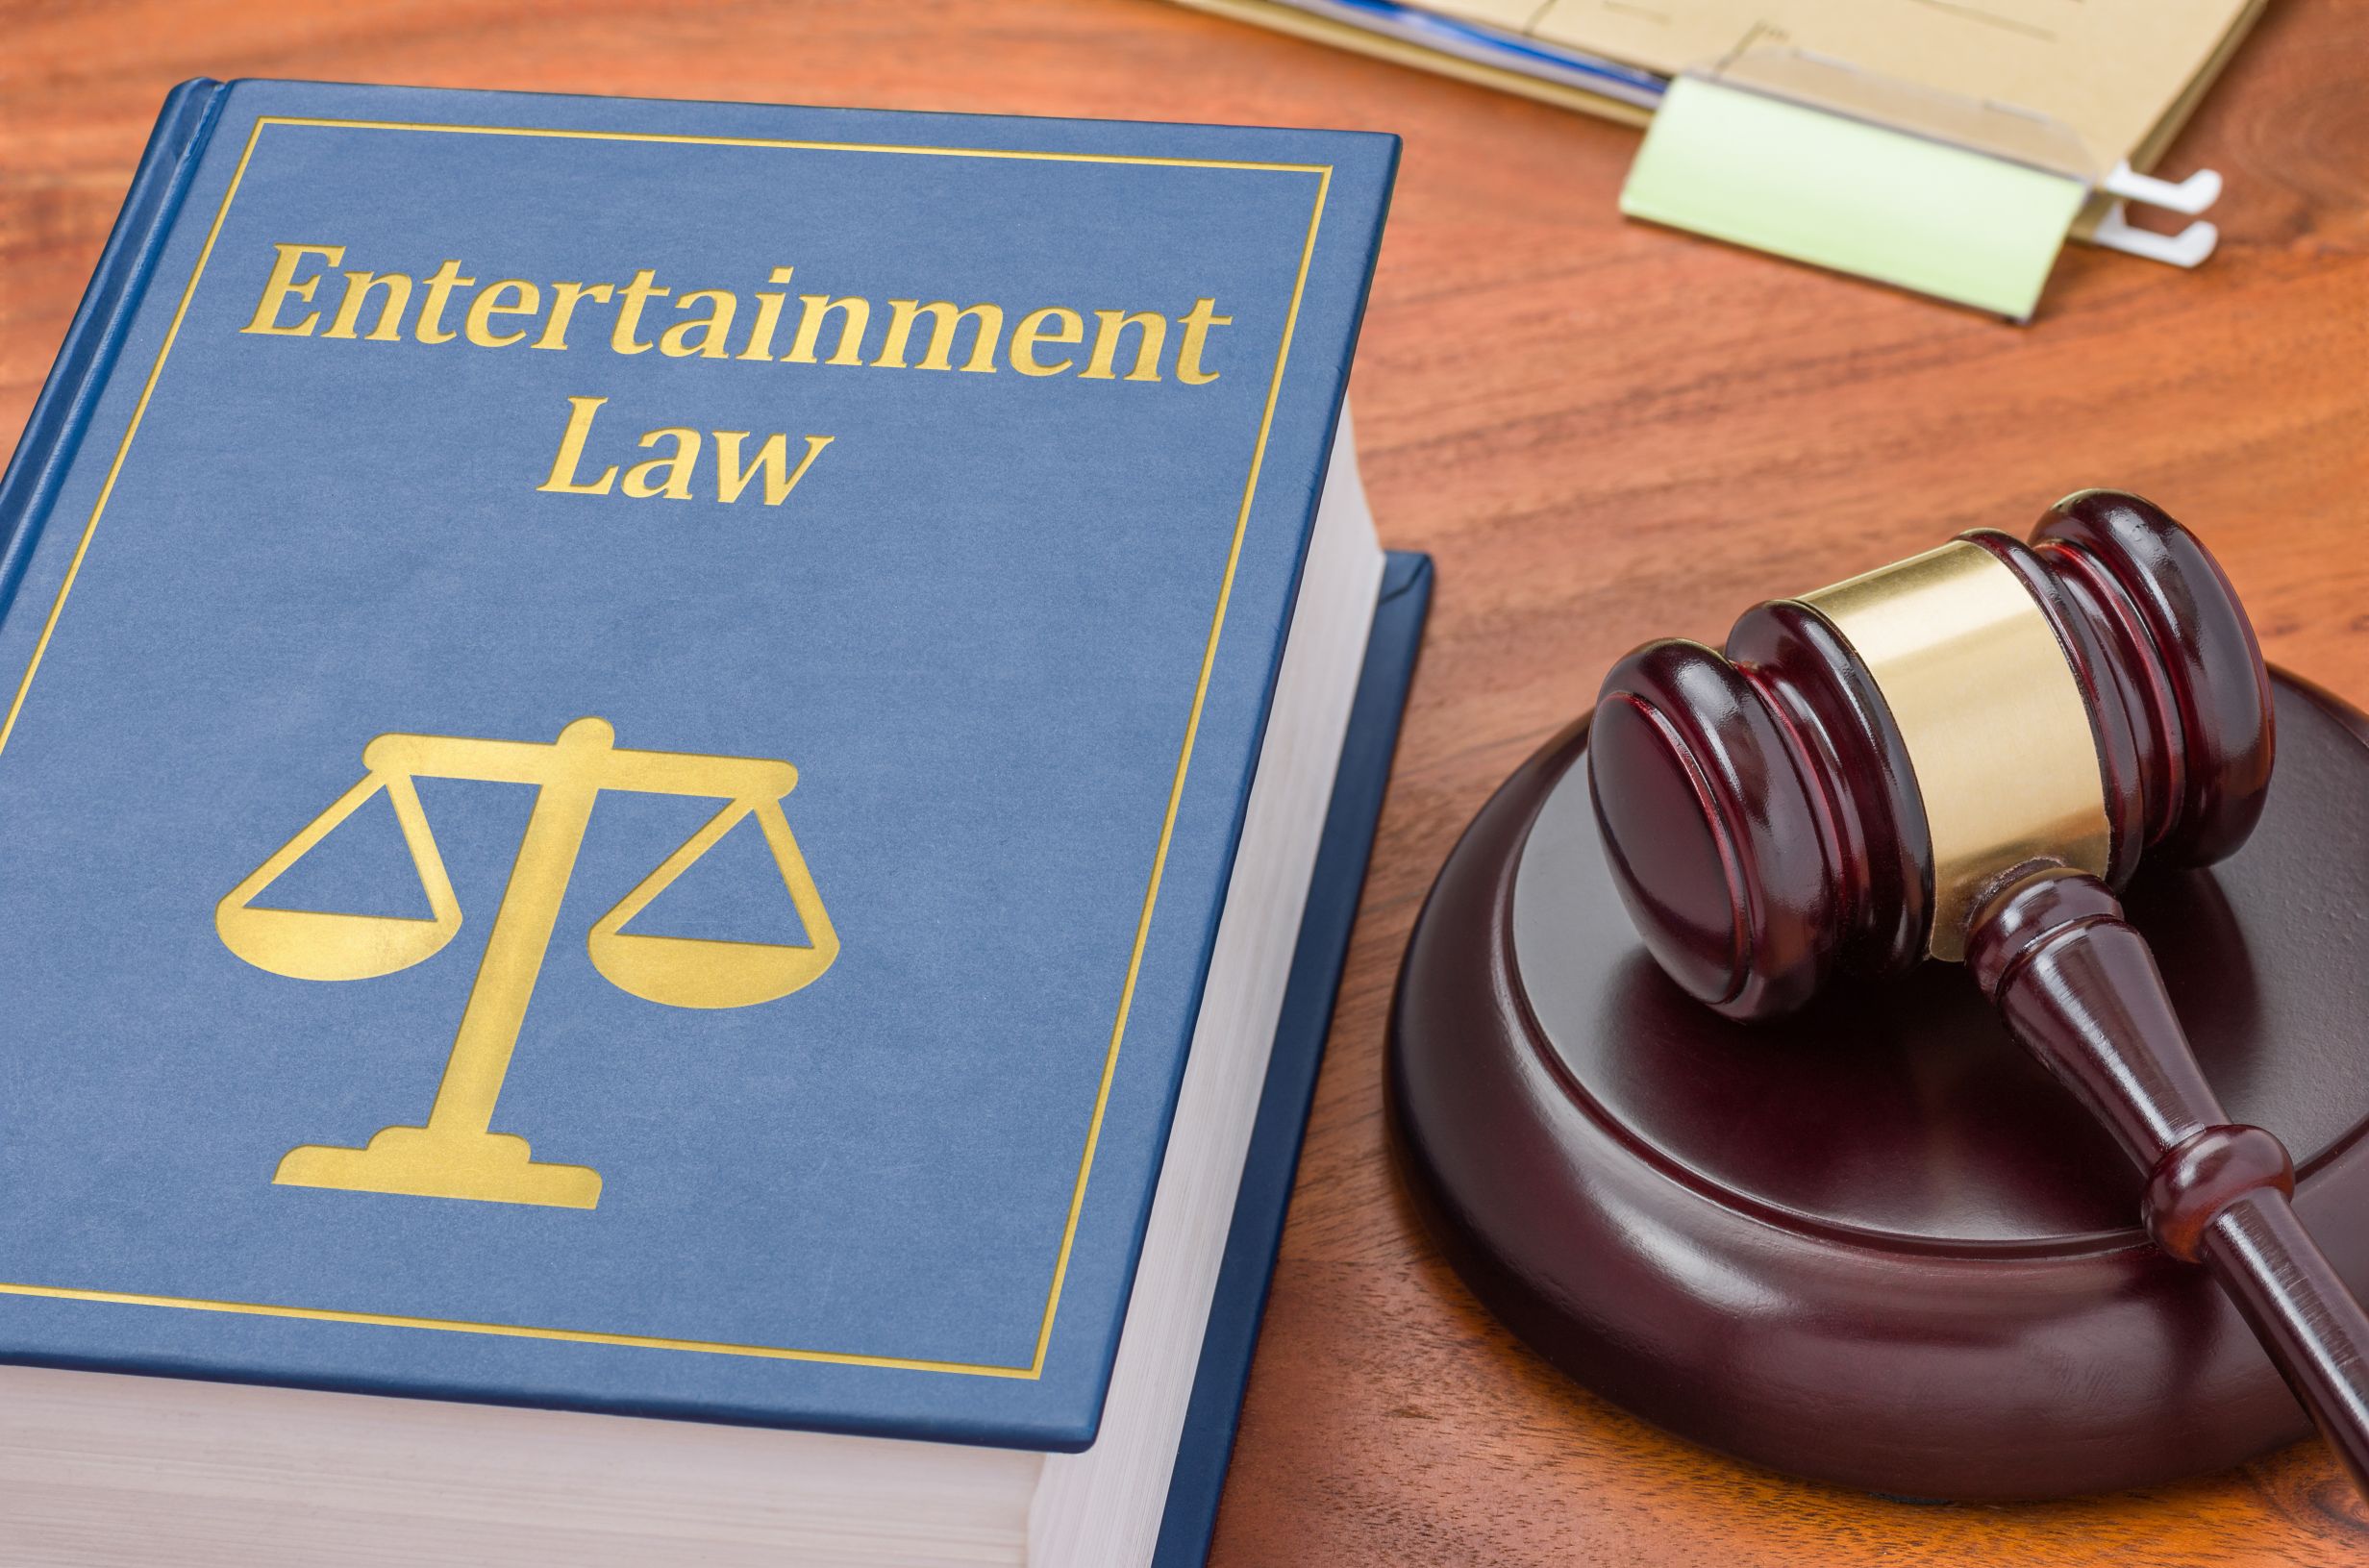
Anyone in the music business will need to hire any one of the good Music Lawyers available. These lawyers can help keep ...

You think you have had a good hamburger? Looking for the Best Burger around? Bah! I got the recipe to the best burger I ...

Electricians are trained professionals that maintain and install electrical systems in businesses and homes. They ...

Dropbox, Apples iCloud, and Google Drive are some of the many services that businesses are now using to take their data ...