Auto Headlight Restoration How Does It Work
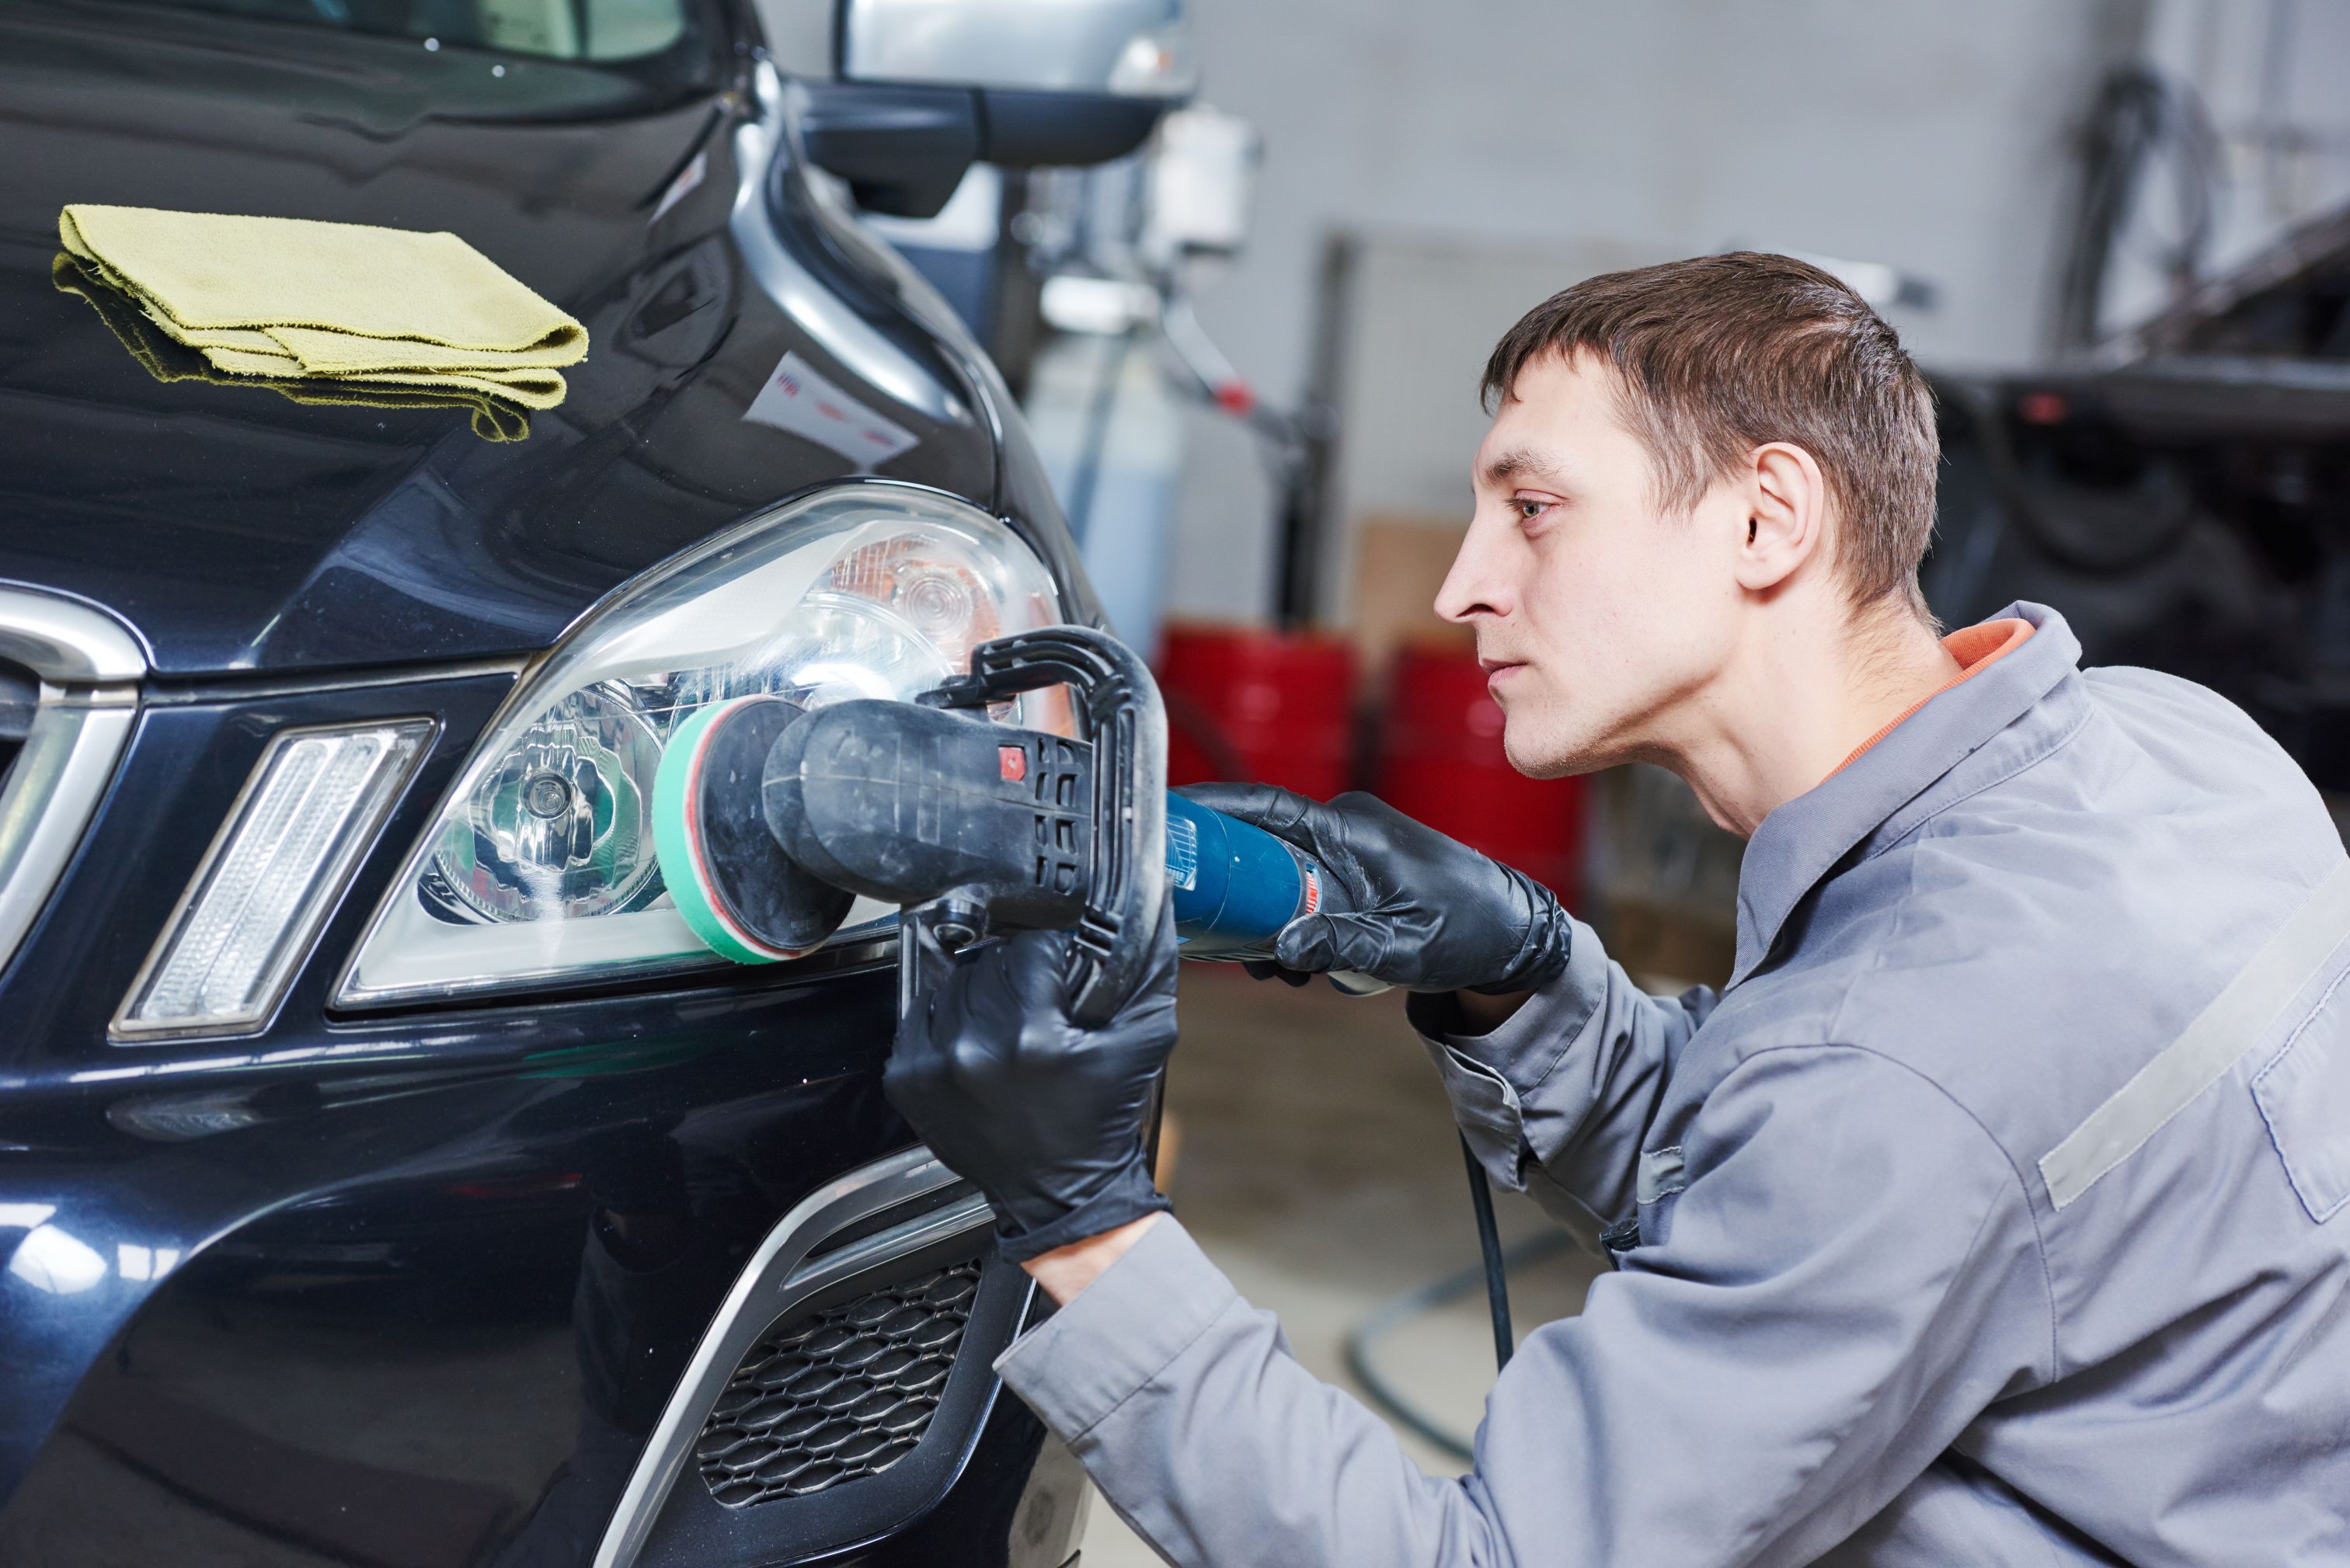
You have heard of auto headlight restoration, but ever wonder how it works? Most headlight lenses are constructed using polycarbonate plastic. This sturdy plastic is seamless for taking on harsh road conditions without breaking, but it does not play well with the sun. To protect it in the beginning, manufacturers coat the lenses with a UV shielding film. Over time this film is ruined by UV rays, which allows the plastic to oxidize.
If your car’s headlights have started to haze over or become yellowish, then it is clear the oxidation process has begun. There is no need to worry though as getting those headlights looking new again is an easy DIY task. Follow the headlight restoration process we have laid out below, and you will be capable of getting your night vision back to factory fresh in no further time.
Buy What You are Going to Need
Start by ensuring you have the supplies you are going to need. The simplest way to accomplish that is to grab a headlight restoration kit, which is going to include all the necessary parts. You could also separately purchase the products that would come in those boxes, which is smart for people who may already have some of the parts. Essentially, you need a few diverse grits of wet/dry sandpaper (1000, 2000, and 3000 grit are usually safe bets), polishing compound, paste wax, along with a UV sealant. A roll of painter’s tape and microfiber towels must also be on your shopping list.
Get Your Headlights Clean
The first step will be a systematic washing of the headlight lenses with car soap and water. You may want to wash the surrounding areas a bit, too, so that the tape will stick during our next step.
Tape off the Headlights
You will be sanding in a minute, and it is significant that you sand only the lenses and not the surrounding trim or paint. Thus use the painter’s tape to absolutely block off the headlight and shield the rest of the car. When your hand slips and you unintentionally run rough sandpaper over the painter’s tape, you will be happy you took the time to do this.
Sand Away
Welcome to the most crucial step. The sanding procedure is the same whether you bought the kit or just the materials. You will want to start with the most coarse sandpaper option you have. If you followed our instruction and got 1000 to 3000, for instance, reach for the 1000 grit. Wet the sandpaper you are using along with the headlight, then sand the lens in straight, horizontal blows. Sand, in the same manner, the whole time with this first one. It is important to ensure that you keep the surface wet as you work. Otherwise, you risk badly scratching the lens due to grit particle buildup. Your results are going to depend on how good of a job you do in this stage, so do not be afraid to spend five to ten minutes hunched down there.
Repeat the procedure with the less abrasive sandpapers—in our case, the 2000 and then the 3000 grit. The only difference between these two will be the way of your sanding motion. Meanwhile, you used horizontal strokes with the first sandpaper grit; then you will want to sand to corner over the headlight for this subsequent one. The last sanding should be in the opposite diagonal motion from the one you just did. Take as much time as needed and make sure the paper and lens stay wet with water. A spray bottle works wonders here.
Polish and Wax
Wipe off and dry your headlights, at this point in time you should also squeeze some of your polishing mixes out onto a spotless microfiber towel. Rub in the polish for a few minutes through circular motions. You can pass through this process quicker if you have and are comfortable using an orbital buffer (but do not buy one just for this job unless you plan on using it in the future). Once you have made the lenses clear over again, you can apply the wax to it. Waxing the lens like you would a car. This will carefully clean and protect the lens in preparation for the last step.
Use UV sealant
Use a UV sealant to your headlights as you had now removed most of the old oxidized sealants when you sanded. Your hard work will be for naught if you avoid this process because the sealant is the protecting layer that keeps lenses from hazing over again.
This process consists of wetting a paper towel and rub on the sealant in sweeping broad strokes. Complete coverage is the key here, but pay attention to the instructions of the kit you purchase. The rule of thumb is to only apply one layer of sealant until and unless unless the instructions clearly tell you otherwise. Allow the sealant to cure after application by parking the car in a dry space. You will get the perfect results if you follow the directions exactly as they’re printed for whichever restoration kit you choose.
You have to apply UV sealant to your headlights since you evacuated the majority of the old oxidized sealants when you sanded. The majority of your diligent work will be to no end on the off chance that you skirt this progression in light of the fact that the sealant is the defensive layer that shields focal points from the right of passage over once more.
This progression comprises of wetting a paper towel and applying the sealant in clearing general terms. Full inclusion is the key here, yet focus on the guidelines of the pack you purchase. The general dependable guideline is to just apply one layer of sealant except if the directions expressly disclose to you generally. Enable the sealant to fix after application by stopping the auto in a dry space. You'll get the best outcomes in the event that you pursue the bearings precisely as they're printed for whichever rebuilding pack you pick.
Test It Out
If you have followed all of the steps mentioned above and still do not see a big improvement, then it may be worth doing it over again with even more sanding. However, some lenses may just be too far gone and need either expert help or to be supplanted entirely.
Category: Auto Headlight Restoration
Business News
Popular Posts
- Universal Pursuit of Happiness - Wisdom from World Religions
- Overcoming Ego and Self-Centeredness - Lessons from World Religions
- Transcending Materialism - Spiritual Practices from World Religions
- Overcoming Prejudice and Intolerance - Guidance from Global Faiths
- How Mind Balance Can Improve the Mindsets of Employees
- Interfaith Insights by 1WorldPeace - The Top 100 Universal Beliefs in Global Spirituality
- Bridging Beliefs - Finding Common Ground in Love and Respect
- The SmartGuy Vision - A United Future Through Interfaith Love and Respect
- A Cautionary Vision - The Grim Future of a Divided World Without Love and Balance
- A Tapestry of Faiths - Exploring the Common Threads in World Religions
- Fostering Harmony Among Christianity Islam Buddhism Hinduism and Judaism
- Preparing Kids for Adulthood - 15 Vital Skills They Wont Learn in School
- Navigating Diversity - Jerusalem's Tactical Approach to Interfaith Harmony
- Clearing Mental Plaque: The Path to Enhanced Communication and Divine Connection
- Why Return to Jesus Christ and the Church
- Top 50 Ways to Live Longer
- Adventurous Romance -The Key to Enhancing Relationship Chemistry
- Pork Tenderloin with Mustard Cream Sauce
- Navigating Technology and Media for Optimal Mental Well-Being
- Understanding the Link Between Mental Health and Substance Abuse