Do It Yourself Tips For Installing Wall Tiles
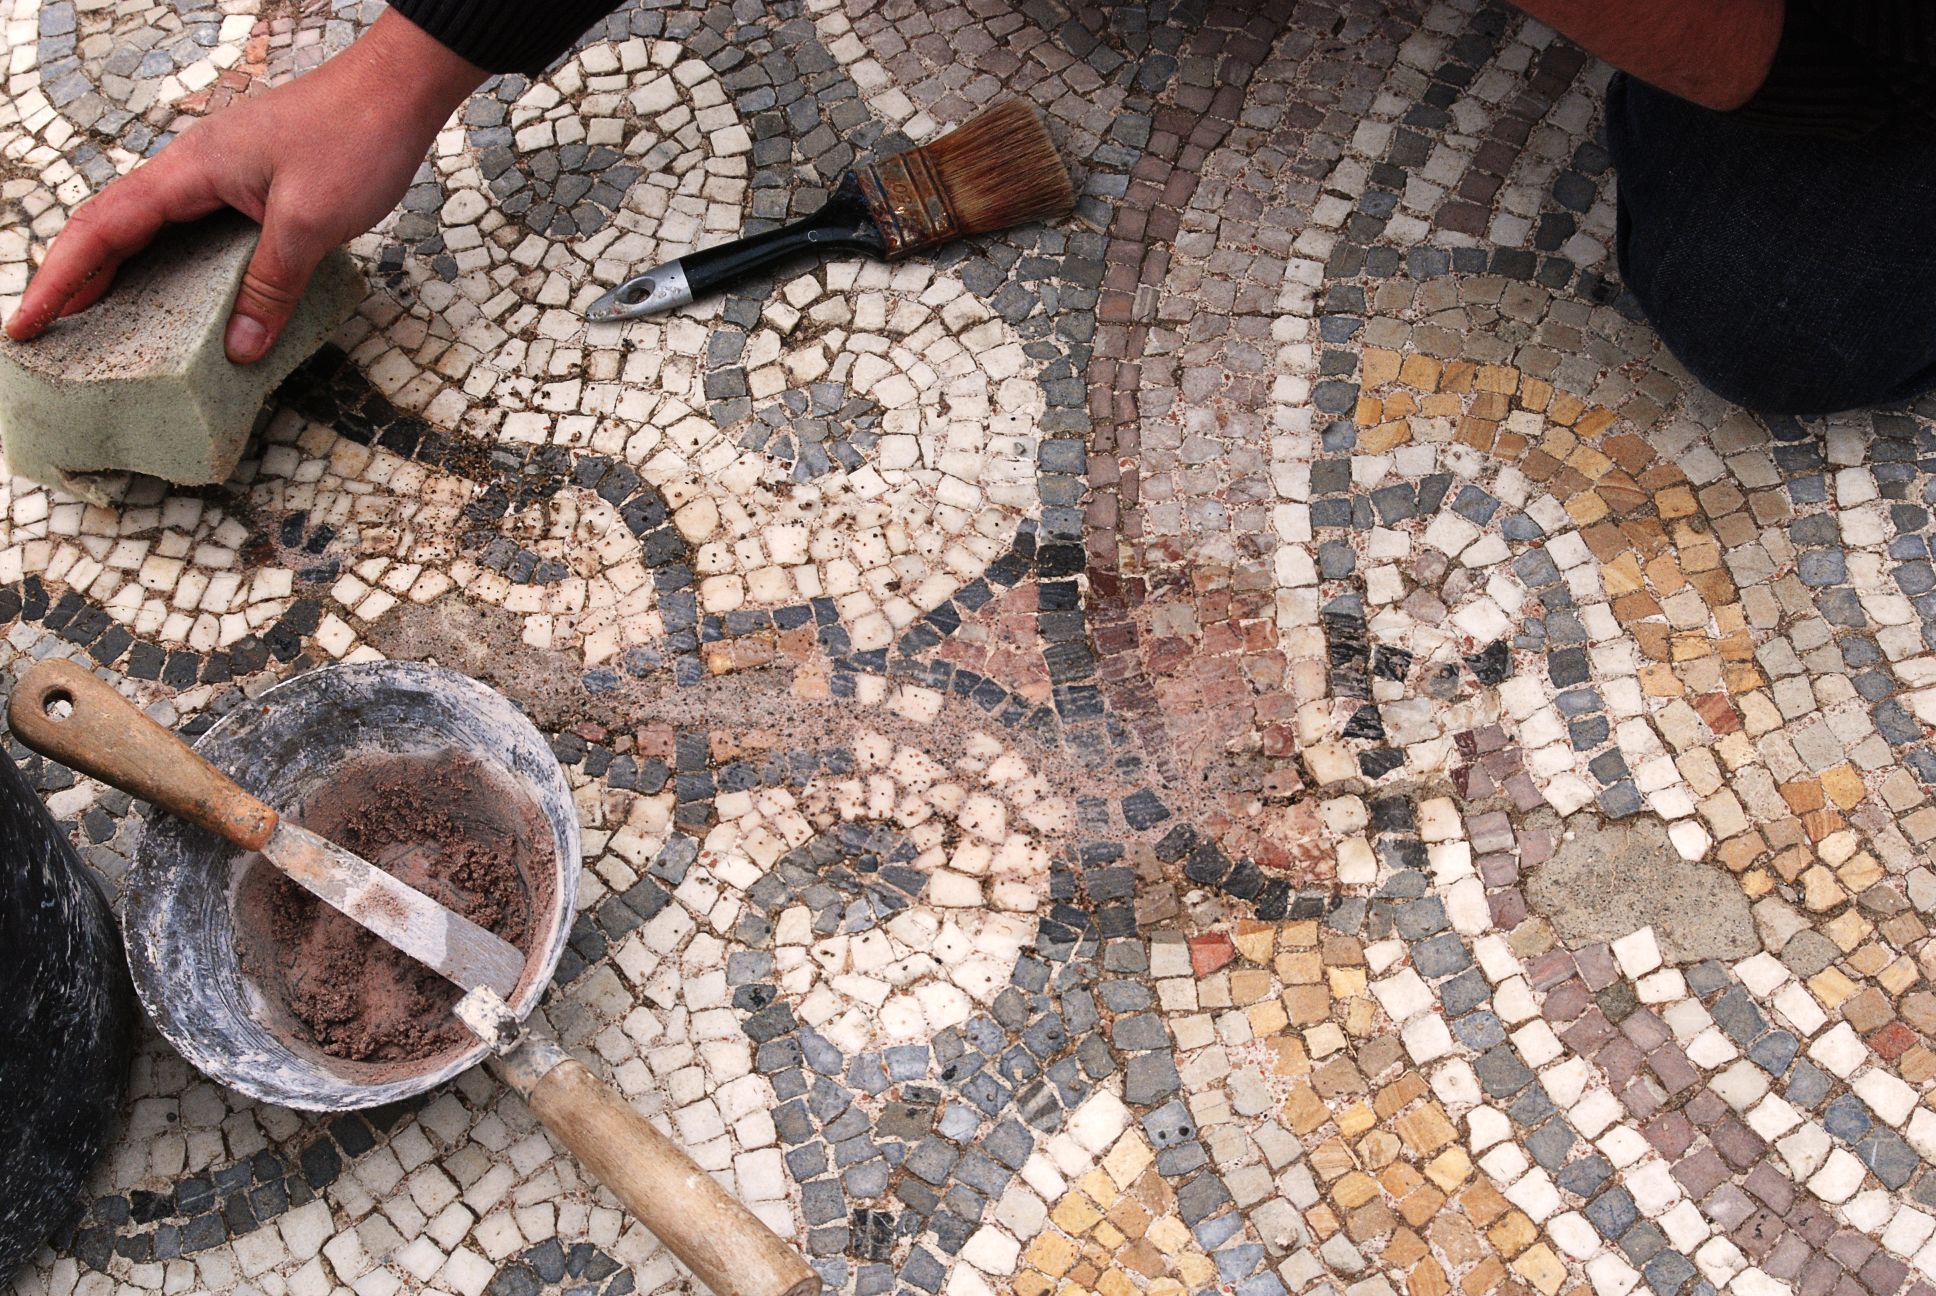
Following these do it yourself tips for installing wall tiles will provide you with a beautiful, long lasting wall that is astoundingly easy to keep clean and maintain. Wall tiles can be installed almost anywhere in your home. The most obvious places, of course, are in the kitchen and in the bathroom as backsplashes and countertops. Wall tiles can add color and flair, especially when used creatively to make attractive and unique designs.
Although some people believe that wall tile installation is difficult, it really isn't. Actually, any do it yourselfer can install wall tiles if they just take the time to learn the process and study some do it yourself tips for installing wall tiles.
Once you have a basic understanding of the process, you will need to assemble the following tools and materials for the project.
- Ceramic tiles
- Green drywall or cement board
- Galvanized cement board screws
- Level
- Pencil
- Fiberglass tape
- Notched trowel
- Tile adhesive
- Tile nippers
- Tile cutter (this can be rented)
- Grout
- Sponge
- Rubber Float
- Silicone caulk
- Utility knife
- Buckets of clear water
Some Notes About Ceramic Tiles
Ceramic tiles are available in many sizes, ranging from 1 square inch (sold in sheets of 12 inches by 12 inches) up to 18 inches. There is also a wide range of colors for creating unique wall tile designs. You can combine the colors and sizes to create attractive wall tile designs that will enhance the look of your room and allow you to express your own personal taste.
Interestingly, not all ceramic tiles are water resistant. Some ceramic tiles are "non-vitreous" which means that they will absorb water. Non-vitreous tiles should only be used in areas where they will not come in contact with water, making them an inappropriate tile for bathroom and kitchen applications. Instead, look for semi-vitreous or impervious tiles that will resist water for these uses.
Wall Preparation
Ceramic wall tile installation has to be done on plaster or drywall. In wet areas, "green" drywall and cement backer are better options. Green drywall is designed specifically for bathroom use. Working with green drywall is the same as working with regular drywall, but green drywall is specifically made to be moisture resistant. It can be used in bathrooms, kitchens, or any area that can get moist, but it should not be exposed directly to water. Cement backer board is constructed of Portland cement and fiberglass mesh, and is moisture resistant. Cement backer is best behind tile for bathroom projects, shower projects, and as a backsplash close to a sink.
Laying Out Patterns
Always start in the center and work out from there. Use the level to find the center of your work area and mark reference lines with a pencil. When applying tile adhesive, do not cover the reference lines - you want to be able to see what you are doing. Use spacers on all four sides of each tile for consistent grout lines. Use the tile nippers to cut irregular shapes to fit around obstructions. Let the tile adhesive dry overnight, and then apply grout. Remove the spacers, and apply the grout at a 45 degree angle, working with 3 square feet at a time. Use a wet sponge and clear water to wipe away excess grout.
Some Final Tips
These final do it yourself tips for installing wall tiles will give your project a professional finish. Let the grout dry for thirty minutes, and then buff away the haze with a soft dry cloth. Use the same process again after the grout has had a day to dry further. In bathrooms and kitchens, use a silicon caulk that is mildew resistant to seal the tile edges where they meet the counter, sink, or tub.
Category: Tile Restoration
Business News
Popular Posts
- How to become a strategic thinker
- how to balance your mind and achieve greater happiness
- Building a Positive Attitude - Strategies for a Happier and More Fulfilling Life
- Overcoming Negative Thoughts - Strategies for a Positive Mindset
- Cultivating Resilience and Mental Toughness - Keys to Thriving Amidst Lifes Challenges
- 50 positive affirmations to be read every day
- Mind Balance - for those who dare to redefine their limits
- 50 ways to be more like Jesus in everyday life
- Take the Wheel-Navigating Life Beyond the Screen
- Unlocking Potential - The Power of Personality Assessment in Overcoming Obstacles
- The Imperative of Unity - Why SmartGuy and Coexistence is Key to Global Survival
- Universal Pursuit of Happiness - Wisdom from World Religions
- Bridging Divides - Understanding Barriers to Unity and Happiness in World Religions
- A Cautionary Vision - The Grim Future of a Divided World Without Love and Balance
- A Universal Prayer for Peace and Understanding Embracing Diverse Faiths
- Preparing Kids for Adulthood - 15 Vital Skills They Wont Learn in School
- Cultivating Key Skills to Overcome Anti-Semitism and Hate
- Jerusalem's Lesson - A Blueprint for Global Harmony Among Diverse Faiths
- Navigating Diversity - Jerusalem's Tactical Approach to Interfaith Harmony
- Living the Teachings of Jesus - 100 Lessons for a Compassionate and Faithful Life